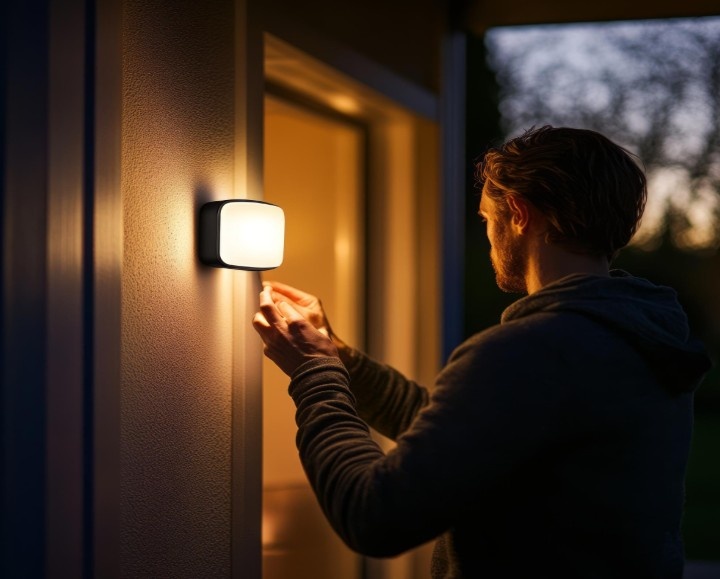


So, your garage door opener is acting like it’s haunted? Maybe it’s ignoring your remote, flashing mysterious lights, or making ominous clicking sounds? Relax. It’s not possessed. It probably just needs a reset. Whether you’re dealing with a temperamental garage door after a power outage, installing a new remote, or just cleaning house on old access codes—learning how to reset garage door opener systems can save you frustration, time, and money.
Let’s dig in and crack the code to tame your garage beast. We’re covering every type of scenario, for every level of DIY-hero. Grab a screwdriver, a ladder, and your sassiest can-do attitude. It’s about to get garage fabulous.
What Does “Resetting” a Garage Door Opener Actually Mean?
Before you channel your inner tech wizard, let’s get clear on the goal. Resetting your garage door opener can mean one (or more) of the following:
- Wiping old remote codes (especially after buying a new house or if a remote goes missing)
- Reconnecting or syncing a new remote or keypad
- Rebooting the system after a power outage
- Fixing glitches when your opener suddenly stops responding
Whether your opener is a Chamberlain, LiftMaster, Genie, Craftsman, or another brand, the good news is: the reset process is usually similar. But don’t worry—we’re going step-by-step and brand-smart.
How to Reset Garage Door Opener in 5 Easy Steps
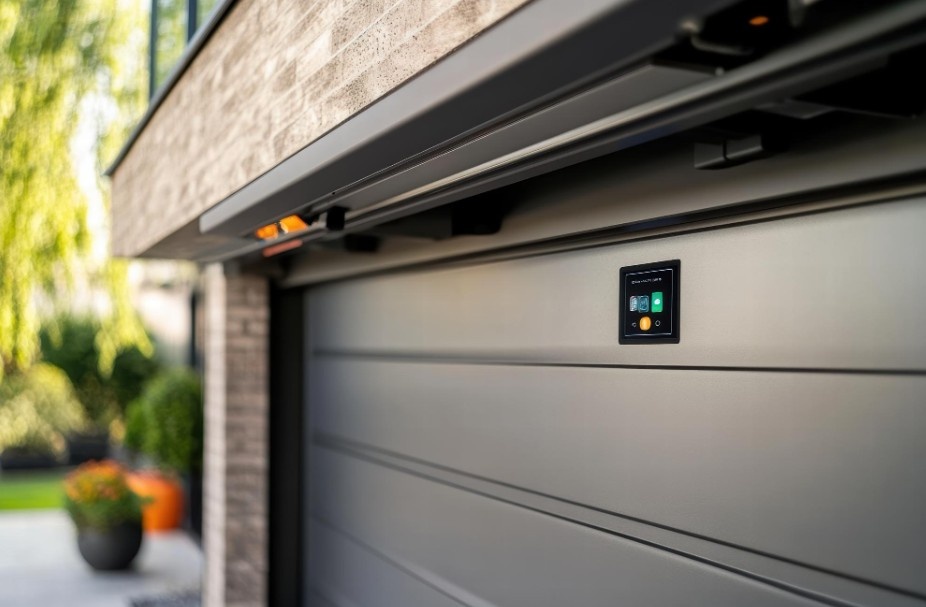
1. Find the “Learn” or “Smart” Button
That little button is your golden ticket to reset-land. It’s usually located:
- On the back or side of the main garage opener motor unit (yep, up on the ceiling!)
- Often under a small light cover or panel
- Labeled as “Learn,” “Smart,” or “Set”
PRO TIP: Use a ladder and flashlight. And no, pressing random buttons with a broomstick doesn’t count.
2. Press and Hold That Button Like a Boss
Hold the “Learn” or “Smart” button for about 6–10 seconds until the LED next to it turns off or blinks. This action will:
- Erase all previous remote codes
- Reset the connection to keypads and remotes
CAUTION: This resets everything. If Aunt Becky had her remote programmed—she’s out. Be ready to reprogram your own remote afterward.
3. Reprogram Your Remote (Because Now It’s Ghosted You)
Now that your garage opener’s memory is squeaky clean, let’s reintroduce your remote.
- Press the “Learn” button again—but this time just a quick press.
- Within 30 seconds, press the button on your remote.
- Watch for a blink or hear a click—BOOM! They’re besties again.
Want to know how to reset garage door opener remote for multiple remotes? Repeat this step for each one.
4. Reset Your Garage Keypad (If You’re Fancy Like That)
Many homes in the U.S. use wall-mounted wireless keypads. If that’s you:
- Press the “Learn” button once
- Enter your new 4-digit code on the keypad
- Press “Enter”
You’ll usually hear a click or see the opener light flash. That’s your cue: it’s working!
5. Check & Test Everything (Trust but Verify)
- Test each remote and keypad after programming
- Reconnect any smart apps (like MyQ, if you’re using a WiFi-enabled opener)
- Open and close the garage door a few times to make sure it doesn’t have a tantrum
You did it! Now tell your garage to sit, stay, and behave.
Situational Garage Resets (Because Life Happens)
After a Power Outage
Sometimes, your opener needs a gentle reboot:
- Unplug the opener for 30 seconds
- Plug it back in
- If the issue persists, go through the full reset process above
Bought a House? Reset ASAP!
Don’t risk letting the previous owners (or their cousin’s babysitter’s ex) have access. Always learn how to reset garage door opener systems after moving in.
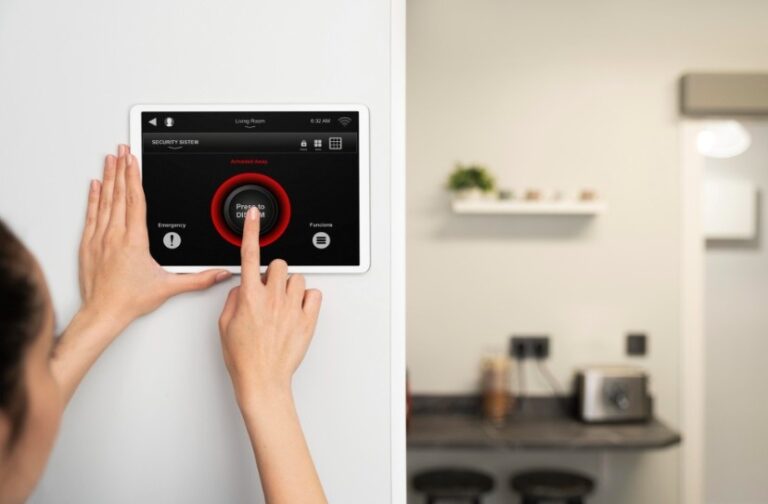
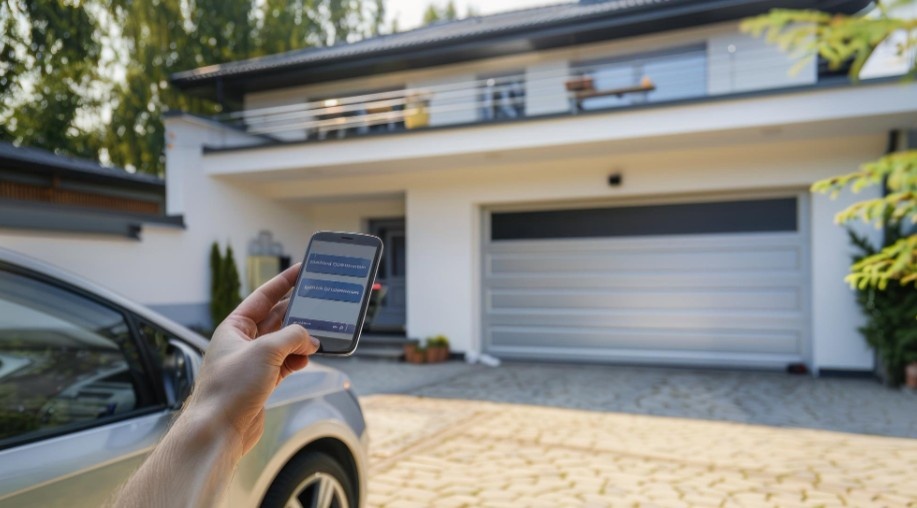
Got a Smart Garage System?
Check the app (like MyQ or Aladdin Connect) for reset instructions. Some systems even allow remote resets via your phone—like a boss.
Common Garage Door Opener Reset Mistakes (Avoid These!)
- Forgetting to reprogram the remote after resetting (and then wondering why nothing works)
- Not checking the battery in the remote—always test it before going full reset mode
- Holding the Learn button too briefly—you gotta hold and release with confidence
- Not resetting after losing a remote (especially important for security!)
Popular Brands – Reset Shortcuts
Here’s how to reset garage door opener models by brand:
- Chamberlain & LiftMaster: Use the yellow Learn button, hold to erase, tap to reprogram.
- Genie: Look for the square “Program” button. Hold until the LED blinks red, then follow reprogram steps.
- Craftsman: Same process as Chamberlain—most are made by the same company.
Why You Should Know How to Reset Garage Door Opener in 2025
With more smart homes in the USA and increasing concerns about security, resetting your garage door opener isn’t just a nerdy thing—it’s essential.
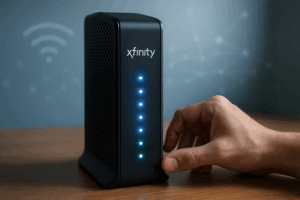
- Cybersecurity: WiFi-enabled openers can be hacked if you don’t secure them.
- Home Safety: Lost or stolen remotes are a security risk if not reset immediately.
- Smart Upgrades: New remotes, new cars with HomeLink, or voice-controlled systems often require resets.
Garage Door Glitches Begone: Reset & Reclaim Your Power!
You’ve learned how to reset garage door opener systems like a total legend. From security to smart home integration, this simple reset ritual is one of the most empowering DIY fixes a homeowner can master.
So next time your garage acts out, don’t call a $200 technician just yet—take a breath, grab your ladder, and reset that opener like the tech-savvy rockstar you are.
Now go forth and open that garage door like it’s rolling out the red carpet.